


TILE LEVELING SYSTEM: STEP-BY-STEP GUIDE AND BEST SOLUTIONS
Tile leveling is a crucial step in laying ceramic and porcelain tiles to ensure a perfect finish and long-lasting surface. Traditional methods like spacers and wedges are effective but not always convenient. Modern tile leveling systems offer much greater ease and precision. Here is a detailed guide on the tile leveling system and recommended products.
Preparing the Surface and Tiles
-
Check the Level: Use a spirit level or level bar to check the floor's level or the wall's plumb. If necessary, use self-leveling compounds on floors or even out walls with plaster.
-
Priming: Prime the surfaces to increase adhesion for the tile adhesive. Remove any irregularities (old plaster, concrete, adhesives) from the surfaces before priming.
-
Tile Layout: Plan the tile layout starting from the entrance to the room towards the far wall. Place cut tiles in less visible areas, such as behind a shower enclosure or bathtub.
-
Preparing Tiles: Select the flattest tiles from each box for the main surface. Use tiles with minor imperfections for cuts, skirting, or other fill-in areas.
-
Mixing Adhesive: Prepare the adhesive according to the instructions, ensuring it is homogeneous without lumps. Spread the adhesive with a notched trowel to create a comb effect. Apply a thin layer of adhesive to the tile using the smooth side of the trowel.
Installing the Tile Leveling System
-
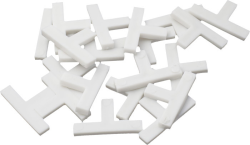
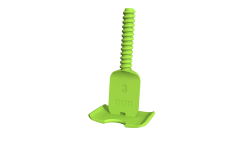
Place the Clips: Insert the leveling clips between the tiles during the adhesive application.
-
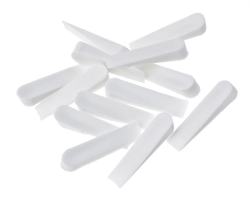
Insert the Wedges: Insert the wedges into the clips to press the tiles down to the floor or wall, ensuring a level surface.
-
Check the Level: Regularly check the level with a spirit level to ensure the tiles are perfectly even.
-
Remove the Clips and Wedges: After the adhesive has dried, remove the clips with the wedges by striking them along the grout line with a rubber mallet. The clips will break off at the base, and the wedges can be reused.
Choosing the Right Tile Leveling System
-
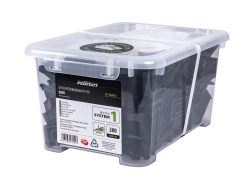
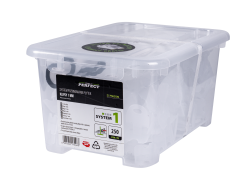
System 1: For tiles 6-14 mm thick
- Recommended tile size: Up to 45x45 cm
- Wedge thicknesses: 1 mm, 1.5 mm, 2 mm
-
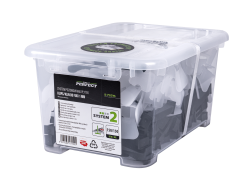
System 2: For tiles 4-12 mm thick
- Recommended for wall tiles and decors
- Wedge thicknesses: 1 mm, 1.5 mm, 2 mm
-
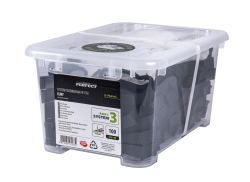
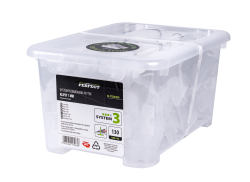
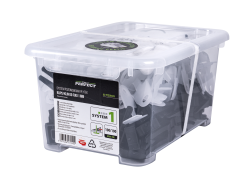
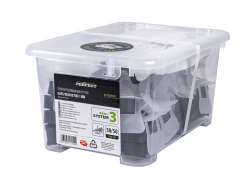
System 3: For tiles 6-18 mm thick
- Universal system for small, medium, and large tile formats
- Wedge thicknesses: 1 mm, 1.5 mm, 2 mm, 3 mm
-
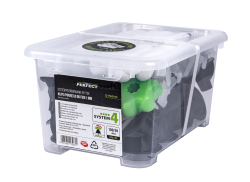
System 4: For tiles 3-16 mm thick
- Suitable for large formats and heavy loads
- Wedge thicknesses: 1 mm, 1.5 mm, 2 mm, 3 mm
Supplementary System Elements
-
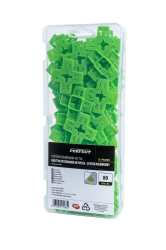
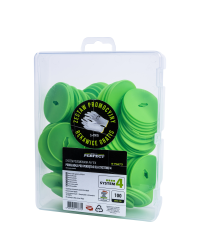
Distance Spacers: Available in full and half versions (gray and lime green) in sizes from 1 to 4 mm.
-
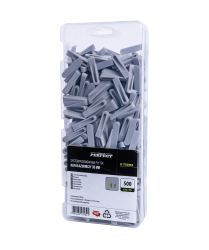
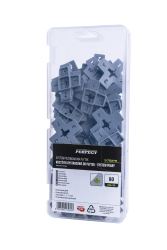
Wedges: Available in two sizes (35 mm and 50 mm).
-
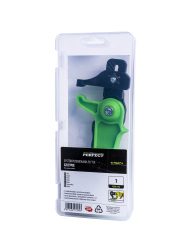
Pliers for Wedge/Clip Systems: Made from impact-resistant plastic with interchangeable tips and adjustable clamping force.
-
Pads for System 4: Round pads with holes to protect the tiles during leveling.
Summary
Tile leveling systems significantly simplify the tiling process, ensuring a perfectly even surface. The choice of the right system and accessories depends on the type and thickness of the tiles and the specifics of the job. With modern solutions like clips and wedges, tile installation becomes easier and more efficient.
Related products

Latest posts


Related posts
